 So all sorts of fun stuff! My 29 gallon reef tank decided to overflow with no end in sight. So I'm going to fix the problem by drilling the tank. Thankfully, I have a diamond grit hole saw from my final project in Art 106 when I built a mushroom fish tank. It didn't work quite how I'd hoped, but one day I'll build a big mushroom tank with etched glass. It will be awesome.
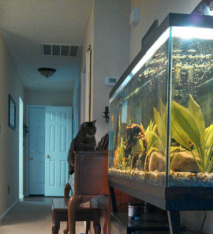
So the process of fixing my tank began with removing everything from my tank and transferring all the fish to the 20 gallon pictured left. My corals are in my sump which is now running independently while I clean the 29. I'll be doing that this afternoon. Once it's clean, I'm going to be enlisting the help of a friend to hose down the glass while I drill. The cold water from the hose will keep the glass from heating up enough to break. If you've never drilled glass before, don't start with your tank! It's easy to screw up. Either get a friend who knows how to drill glass, or practice a bit on a broken tank or some spare pieces of glass.
After I cut the glass, Lowes will become my best friend. Thankfully, it's right next door to my job. I'll need a bulkhead, a pvc elbow and a few other various parts. I'll go through the step by step as I move along.
Eventually, I'll be done. The new overflow will be gravity fed like most other saltwater tanks. I had tried to get out of using
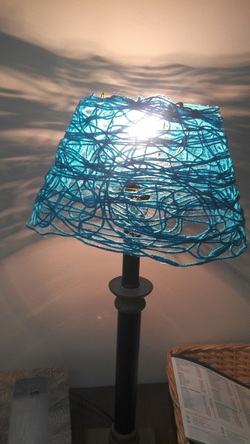 I was looking for a lighting solution and came across this idea for a yarn lamp shade. I'd been thinking about a blue lamp to accent the space, but I hadn't been able to find a shade solution I particularly like. This yarn idea was a great fit. It's simple, artsy and blue. It also worked out to be a great use for my bundle of yarn. The process was a very simple. I created a new metal frame out of a coat hanger, then wrapped a lampshade in plastic before winding the yarn around the shade. Finally, I covered the yarn with a simple modge podge solution to insure that it holds its shape. As always, the best part of the diy is the cost. This cost me absolutely nothing as I used things I already have. The idea came from here: http://cdn.homedit.com/an-original-yarn-lampshade-can-make/ They have a tutorial on creating a yarn lamp shade. All that's left for this project is to create a solution for the actual lamp. Update: 5/30 Not one of my three cats has touched this and I found a lamp at the Salvation Army for $3 that fits the shad really well. So I'll upload a picture of that soon. It looks great!
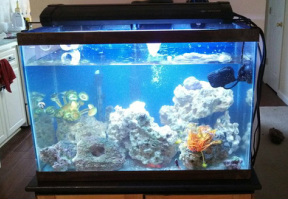
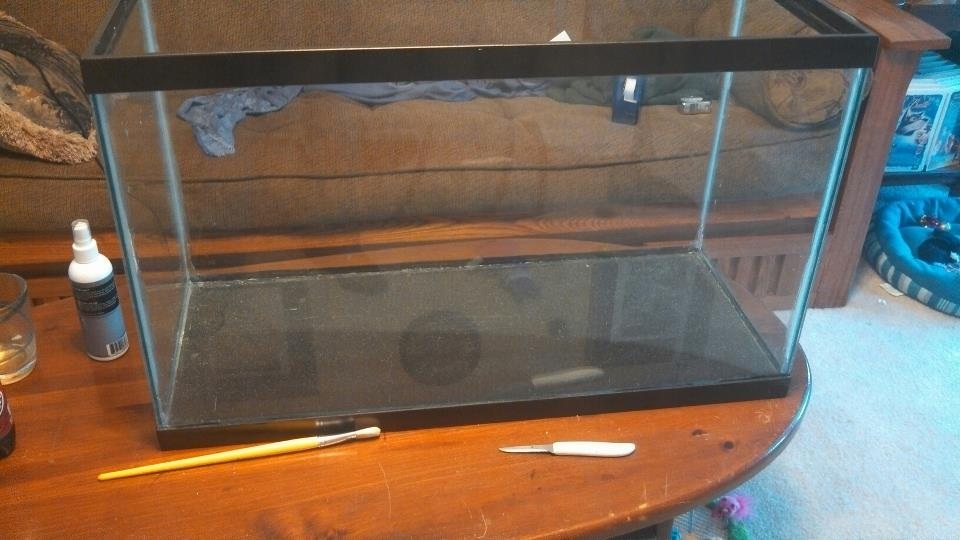
 I just knew there was a reason I needed to stop by the Salvation Army that day. I was looking for lamps, but I walk in a find a fish tank instead. It was labeled as a reptile/small animal cage. I laughed. The glass was the thickness of aquarium glass, terrariums have thin glass as they're not meant to hold the water. Anyway, I bought this tank and screen hood for a grand total of $8 and then had a lot of work to do.
It was covered in writing, tape, paper, small animal bedding and toys. The silicone seal was a dark yellow and frightening. parts of the glass looked chipped and scratched, the rim was in terrible shape and the top was split in half. That is when you question what you have gotten yourself into.
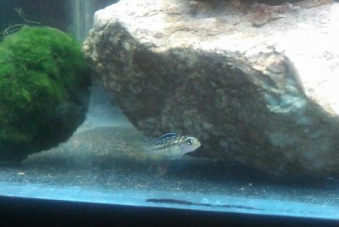
First thing to do after cleaning out all the trash and cleaning the paint and tape off the glass was to remove all the old silicone. This has to be thoroughly as new silicone will not stick to old silicone. I removed the rims and went to work with my little knife. It took two days to reseal the tank and it's only 30 gallons. Next up, I wanted to work on the rims. The rims were an odd brown color that you can't really see in the above picture. I sprayed the exterior of the rims with oiled rubbed bronze paint. and spray painted the bottom of the tank to look like black sand. The tank had to be allowed to seal properly before I could test fill it though, so it sit around looking pretty. After the test fill proved the tank would hold water, I let the silicone finish curing for a week before filling the tank. Now it's a African Cichlid tank with an Aqueon 50 Filter, my Odyssea light, an Aqueon 100 watt heater and a variety of rocks and decorations to create territories for the fish.
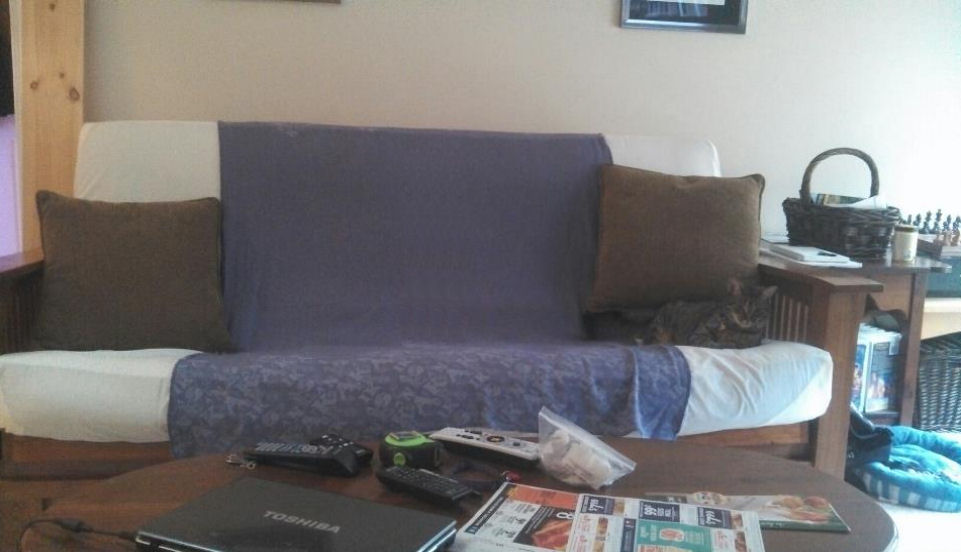
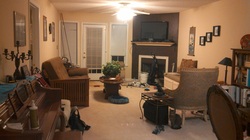 I love the functionality of a futon in a small space. You get a couch and a bed rolled into one item. So now, I'm trying to make the futon fit the space. As you can see from this picture that was taken mid-move, it simply doesn't match anything else going on.
First on my list is to create a cover for this awful fabric. Now, I'm trying to do this on a very limited budget, so I decided to use a sheet and some safety pins for the main part of my cover. Digging around, I discovered a beige sheet. I didn't want white with all the animals running around and the beige flows nicely with the chair. But it's just too much beige. So I wanted to test out the idea of having one large stripe in the middle. Grabbing a handy blanket, the stripe was created. The purple doesn't go with anything, but I like the one large stripe.
Next up is to hunt down a blanket or sheet in the correct colors and for the right price. Then with the stripe in place, I'll add some decorative touches to the cover using large buttons and this cover will be done. Pillows will be recovered and the frame will receive some alterations to make it match the space.
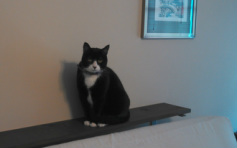
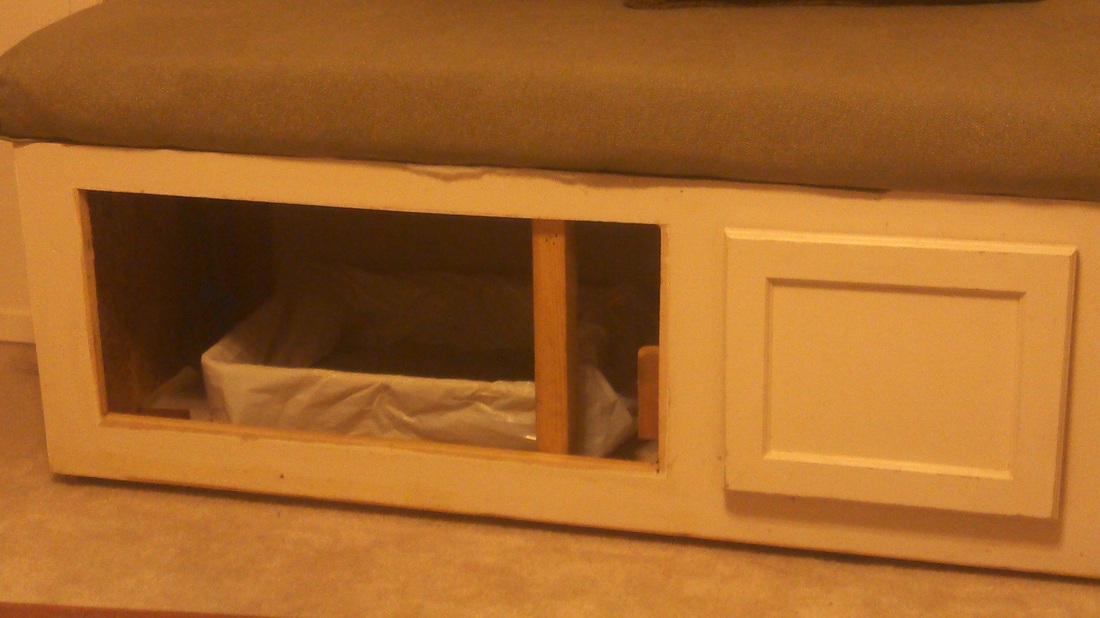
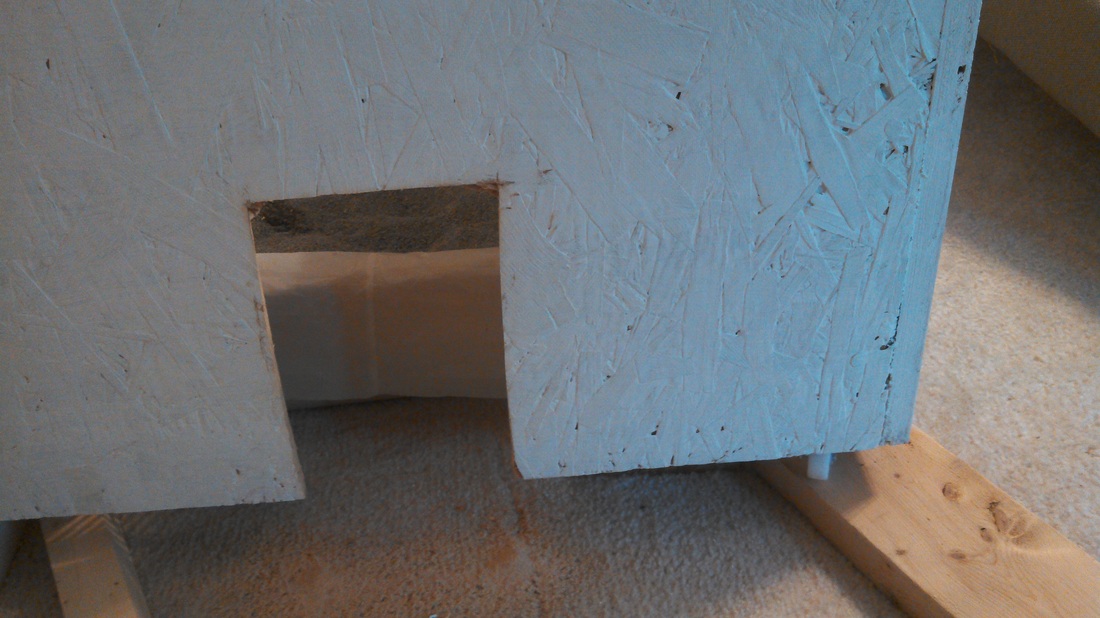
I'm quite certain I'm not the only one who would prefer not to keep the litter box in sight. So My next project was to hide one of my two litter boxes. There just so happens to be space in my bench where it fits. First thing to do, make sure the cats would use it. So I opened up the false door that was being held on by two screws and waited 48 hours to be 100% certain that the cats would use it.
Then I drilled a hole in side of the bench that is not viewable from 90% of the room and re-attached the door. Accessing the litter box is easy as I simply slide the seat out of the way. Again, by using existing furniture and as all I needed for this was a saw and a screw driver, the cost came to $0.00. :) I did keep the piece of wood just in case I ever decide to close it up.
 I have been watching way too much My Cat From Hell on Animal Planet in between all the HGTV shows. That's been a good thing as I've been applying solutions to my real life cat problems.
Currently, I have three cats in this condo and only one is leaving when my parents get settled. That wouldn't be an issue if they were already accustomed to each other, but Cookie is a one cat household kitty and Tibolt is passive aggressive.
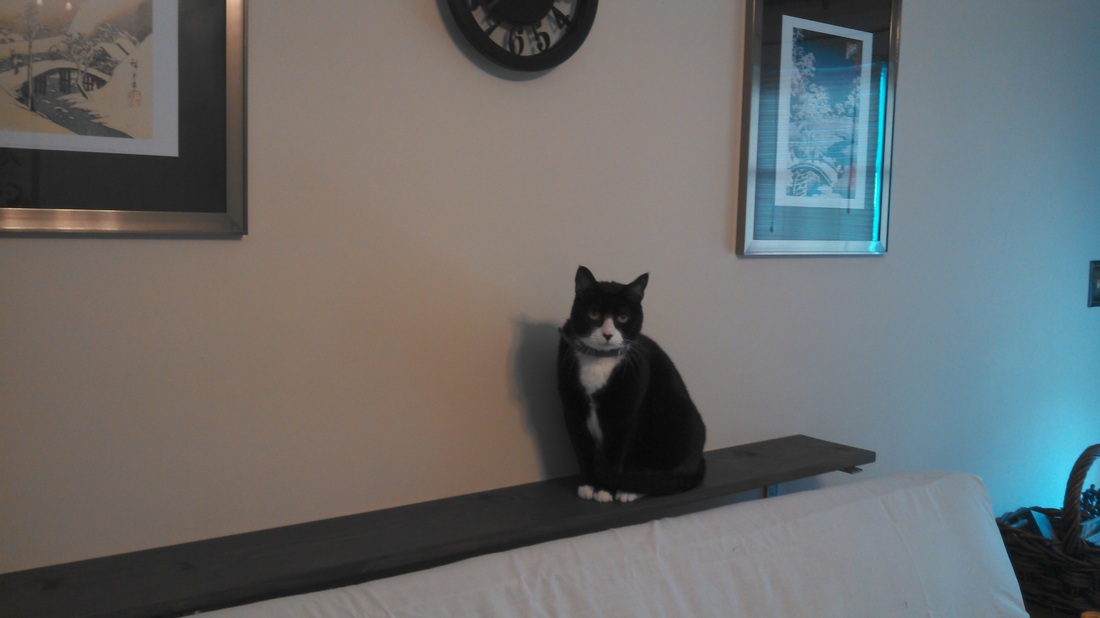
Cookie just so happens to be terrified of Tibolt and believes that he is going to kill her at every turn, so she's a terribly uncomfortable and unconfident cat unless she's up high. With that in mind, she has been living on the kitchen table and in the chairs. I don't mind too much, but she needs other locations to hang out as I don't want cats on the table during dinner and I can see the kitchen countertops being next .
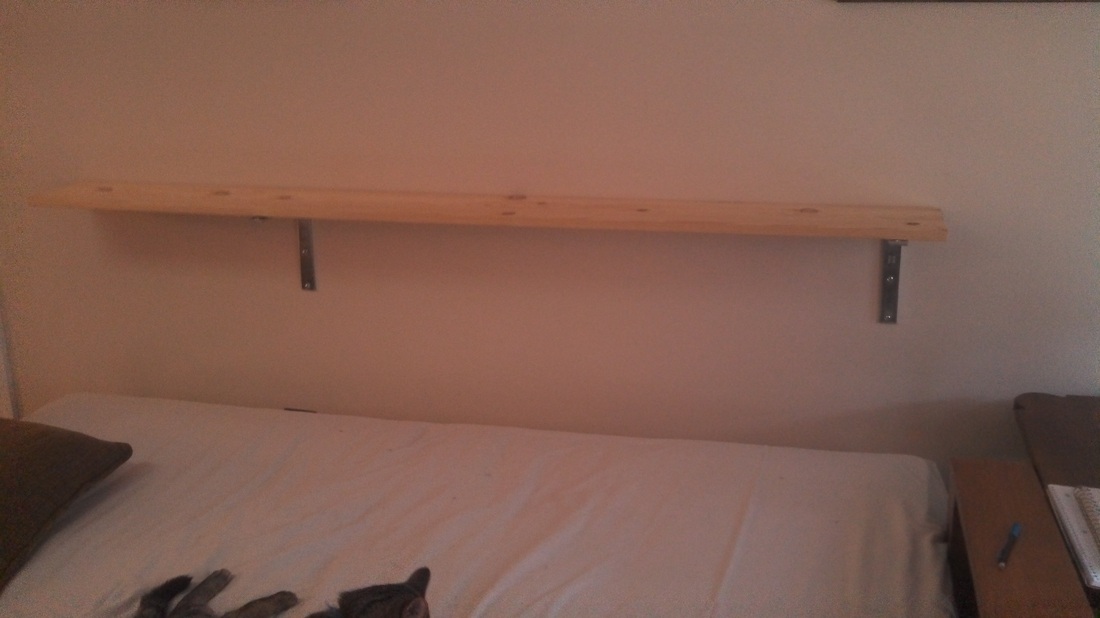
What I needed to create were spaces for Cookie to be away from Tibolt that would not be overly tempting for him to take over. He owns the cat tree, my bed, the top of the bench, random spaces on the floor, etc. Cookie owns a chair. It's quite lopsided. Jackson (from My Cat From Hell) keeps referring to a "vertical world" for cats to explore. That is lacking around here. So my first project came from a pintrest idea about a shelf behind the couch for displaying items. I thought it was a really cool idea and it would allow me to pull the futon out far enough from the wall to actually use it as a bed.
First off, I had to figure out how far away from the wall it needed to be. As well as how high the shelf should be to flow seamlessly with the "couch", not interfere with people sleeping on the "bed" and not block the transition between turning the couch into a bed and vice-a-versa. The shelf was placed a 36" high and the braces were screwed into studs in the wall to be certain to hold the weight.
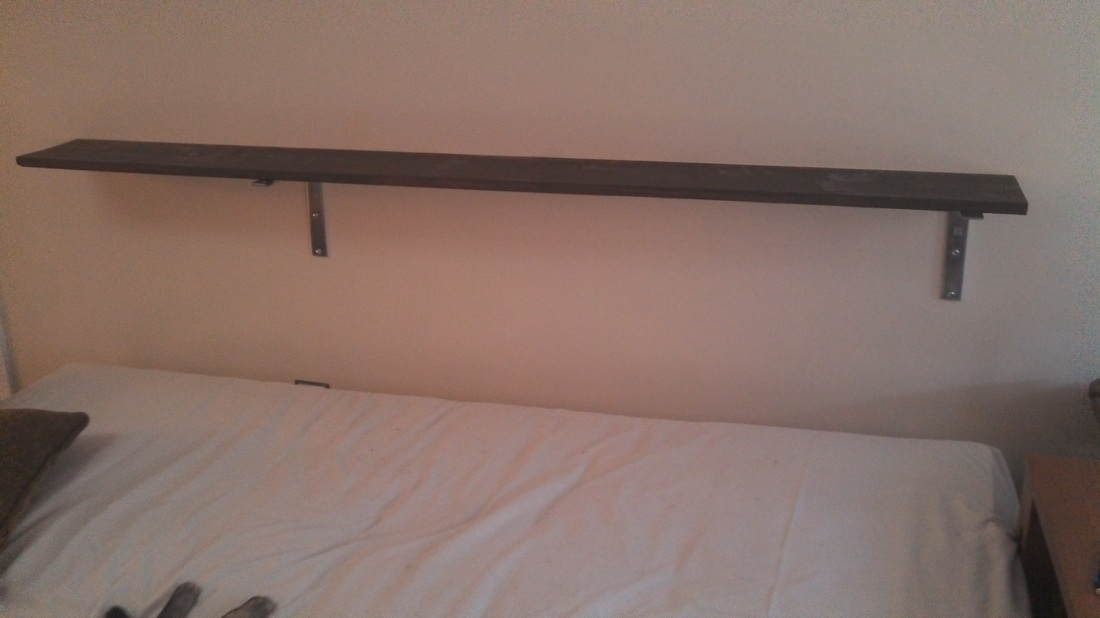
Once the shelf was in place, I realized that the braces looked awkward in their lopsided fashion and there is 3/4" I still need to fill to cover the braces properly. Of course, the shelf couldn't stay looking like wood . So paint would be the next project. As for the lopsided braces, I will eventually hunt down some decorative solutions, but for now, my budget won't allow it. The new cat shelf was painted the exact same color as the accent wall and the dining room table using leftover paint. Returning the futon to couch position, everything worked perfectly and Cookie enjoys her new hangout spot. When I get some further funding, I will purchase a piece of corner round and some decorative finishes to make this not only functional, but aesthetically appealing. The best part of this project, the price. I used existing wood, paint and took the braces from a lighting a fish tank (as I had another solution to hanging the lights), bringing this project to a total cost of free!
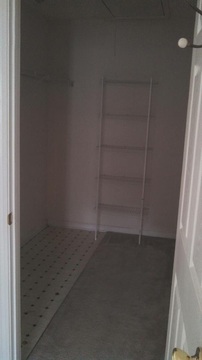 How it started. After closing on the condo, the first thing that had to be done was tearing out the fish closet. The carpet and linoleum had to be removed. Shelves were taken out temporarily. We discovered a huge crack in the foundation that had to be sealed so that was a major project. Then, we put down Carribean Blue Slate tiles. They are 12 x 12 and were on sale at Lowe's. Mom was a huge help on that floor and it looks awesome!
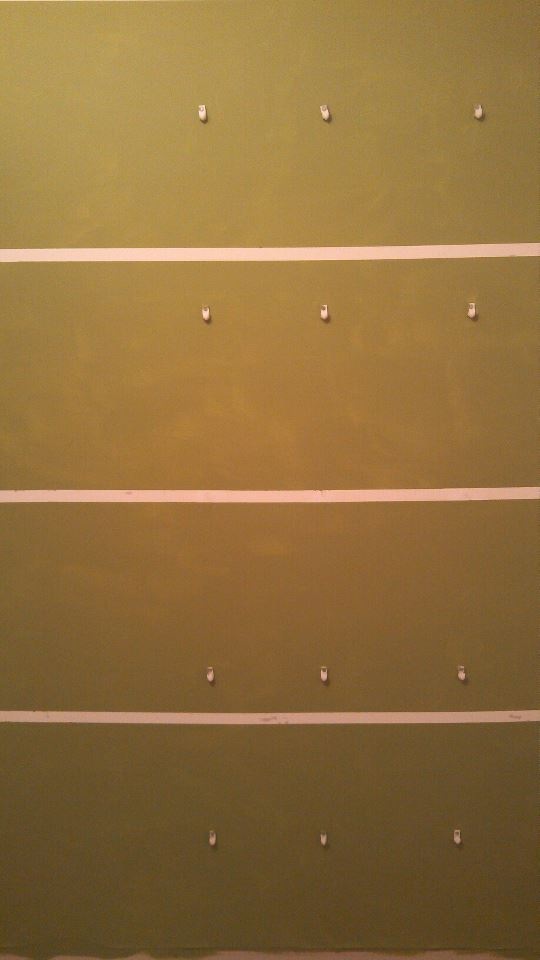
Next up, I had to paint the walls. 18" horizontal stripes on the short walls made the space feel larger and the solid dark blue on the walls that will have fish tanks create calm feel for the fish.
Into the attic we went to install the wiring for the outlets that my tanks will run off of. While up there, Dad and I went to work on installing a second light, this light is a recessed that was on clearance at Lowe's and is rated for outdoor use. With the electrical done, we left the attic.
Next up, was adding the washer/dryer to their half of the closet and re-installing the shelves. Of course, I had taken out the wood baseboards, so now the Flex-co rubber baseboards had to be installed. That was an extremely simple process.
Finally, the tanks went in. They look nice and there is plenty of room for my upgrade this summer when I get the 110. :)
 The 18" stripes 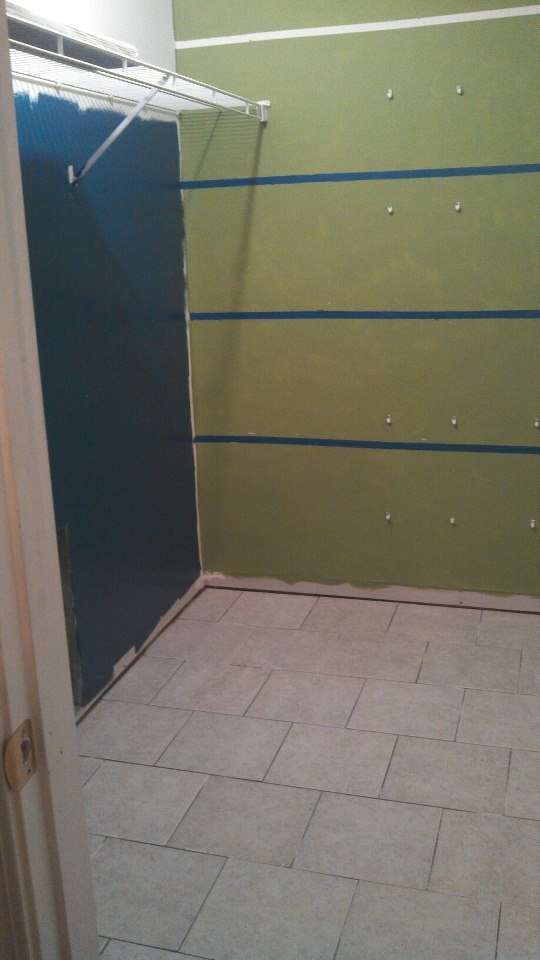 Progress! | 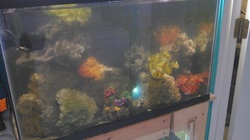 The 29 after the move 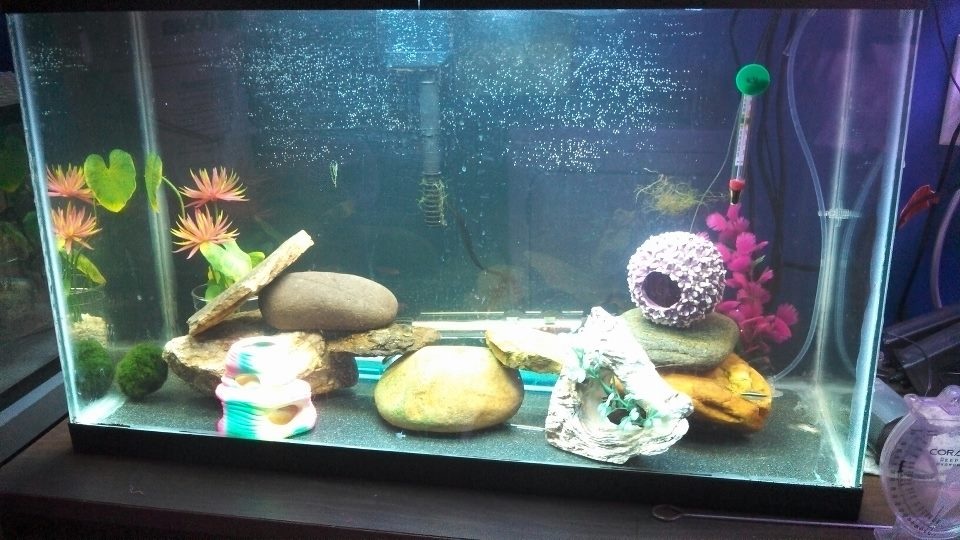 Picked this tank at the Salvation Army for $8 and it's now in the fish closet after some reno.  I even have room to store tanks and items that I'm trying to sell! 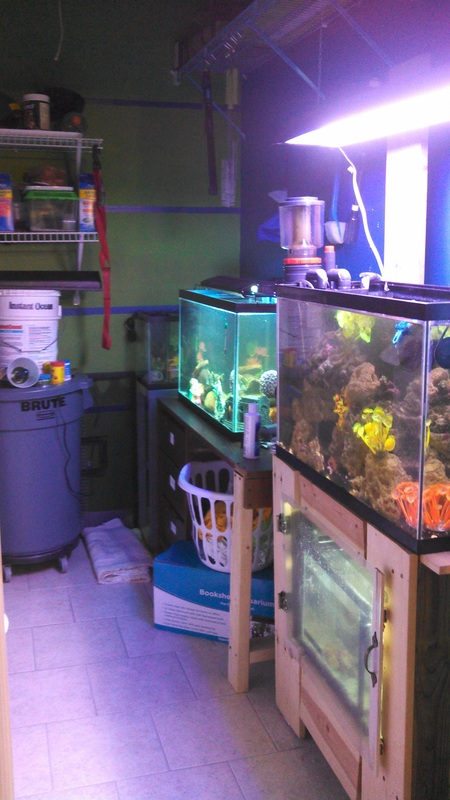 The completed fish closet |
 I am super excited! I can finally sit down and type up this diy page! There are so many things I can write about, it's going to be amazing!
First off, here are the before pictures. The condo was in pretty decent shape when we got it and that was great! The biggest thing that had to happen was paint and a reno of the fish closet.
Next were a variety of smaller projects to make the space more livable, but, of course, we found a few more big projects. The yard and the kitchen floor. We'll see what else comes up as time goes on!
The condo is a 2 bedroom, 2 bath about 1,200 square feet with a small fenced in yard and storage shed. Out front there is parking for two. I call it a condo as it's basically a 1 story townhouse. I can walk to my major shopping locations too! I'm very happy about the location. :)
|


 RSS Feed